
| ||
|
|
Oeuf Design - Eggshell upcycling |
|
Translation in progress
Pysanki technick, writing on an egg
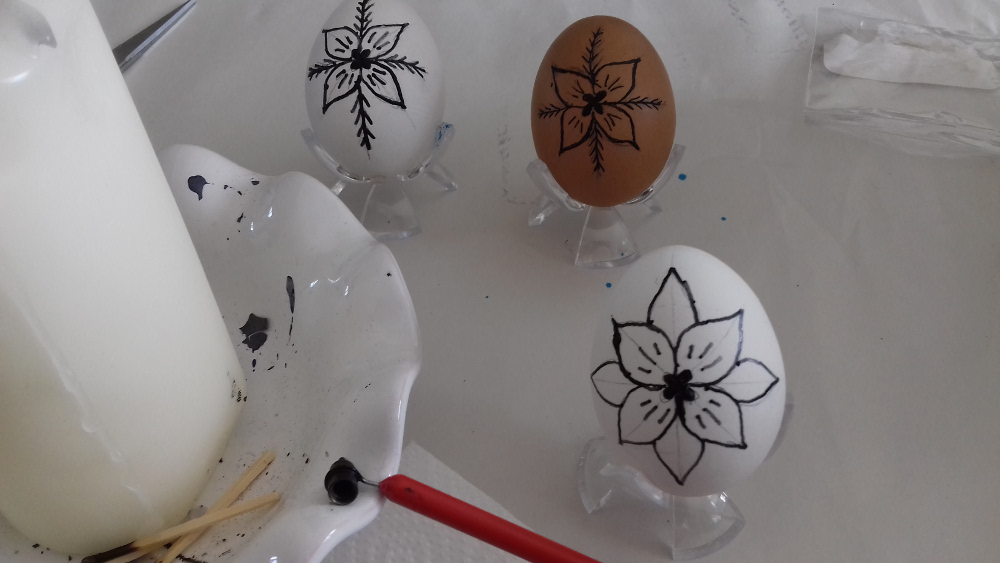
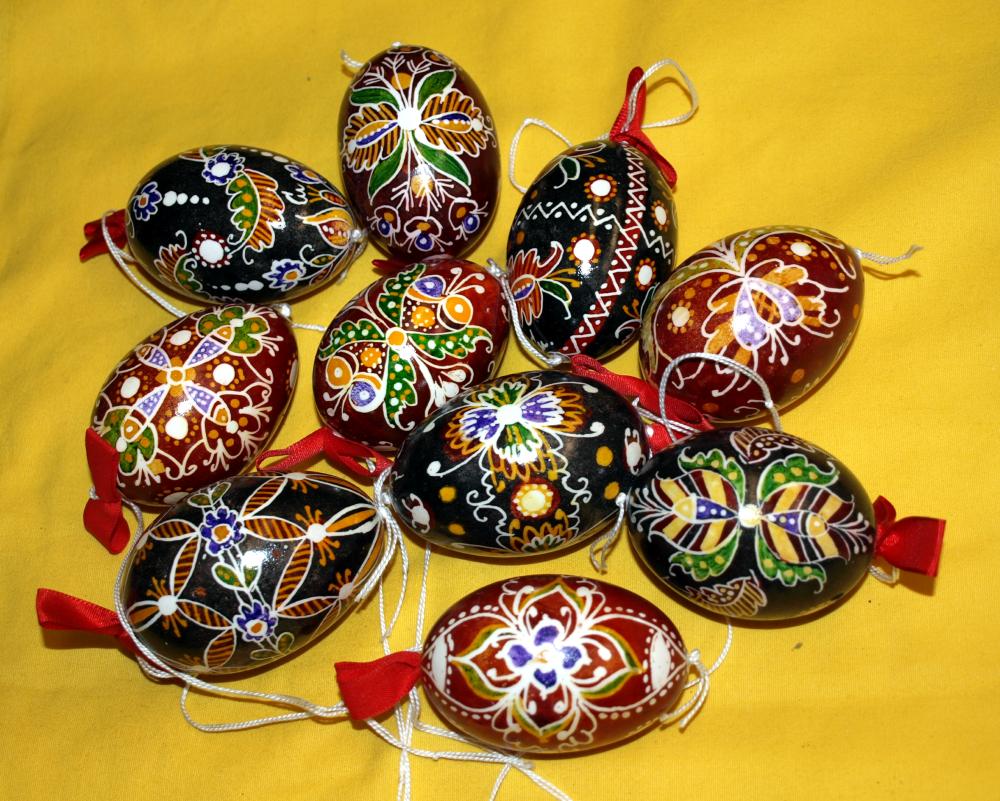
This short tutorial aims to introduce you to the main lines of decorating eggs with wax savings, called Pysanky in Ukraine, from the verb “to write”.
You will find a wide choice of material for the pysanky
Ici
Needed supply for Pisanki
Eggs: It's easiest to dye a white egg, but some colors work on brown eggs as well.
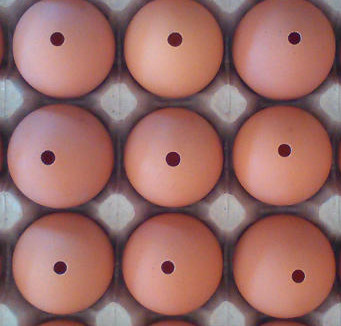
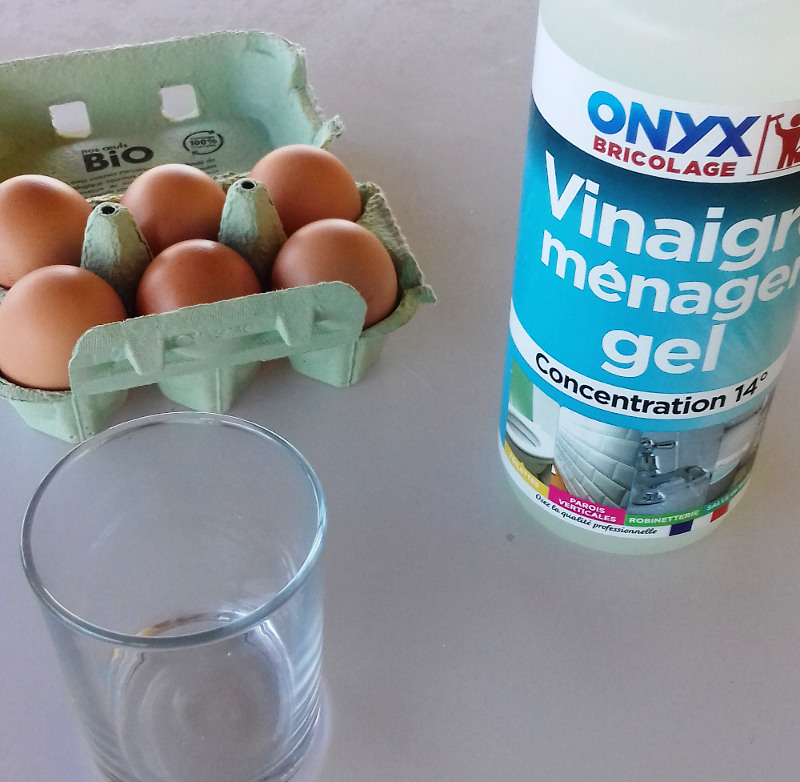
Be careful when preparing the egg: do not use bleach to clean the eggs, but dishwashing liquid or diluted vinegar.
Bleach, or rubbing with a scraping sponge will damage the organic layer of the shell, the one that will take the dye...
Wax: This is pure beeswax.
Traditionally it's the somewhat yellow beeswax, the natural dye of most waxes, but you see a lot of people
using black-tinted wax makes it easier to see its outline on a colored egg.
Beware of the names «wax » which also contain other products that are often toxic when heated or which will leave impurities clogging your tools.
The tools: To apply the wax carefully, a stylus with a reservoir of wax is used.
Called Kistka, it is a flared cone that serves as a tip on one side and a reservoir on the other. There are several models depending on the fineness of the line you want to make.
Dyes: eggs written with wax can only withstand cold dyes, be careful when choosing the dye
if you don't want your wax drawing to melt while soaking in hot dye!
On our site you will find dyes suitable for eggs.
|
Links to our tutorials for preparing eggs and our Pysanky materials
|
||
|
|
To dye an egg shell |
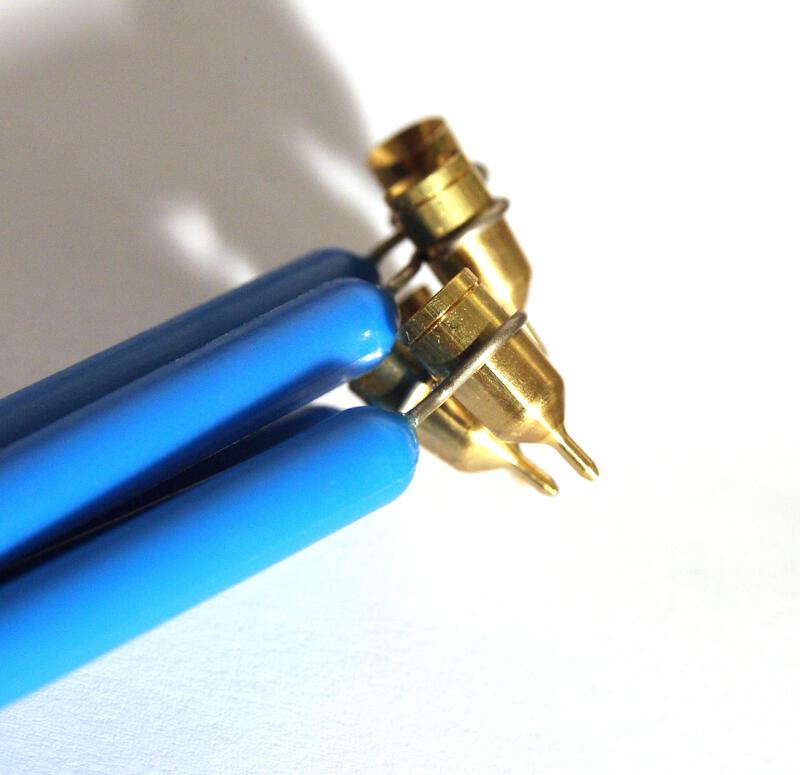
Matériel pour pysanky |
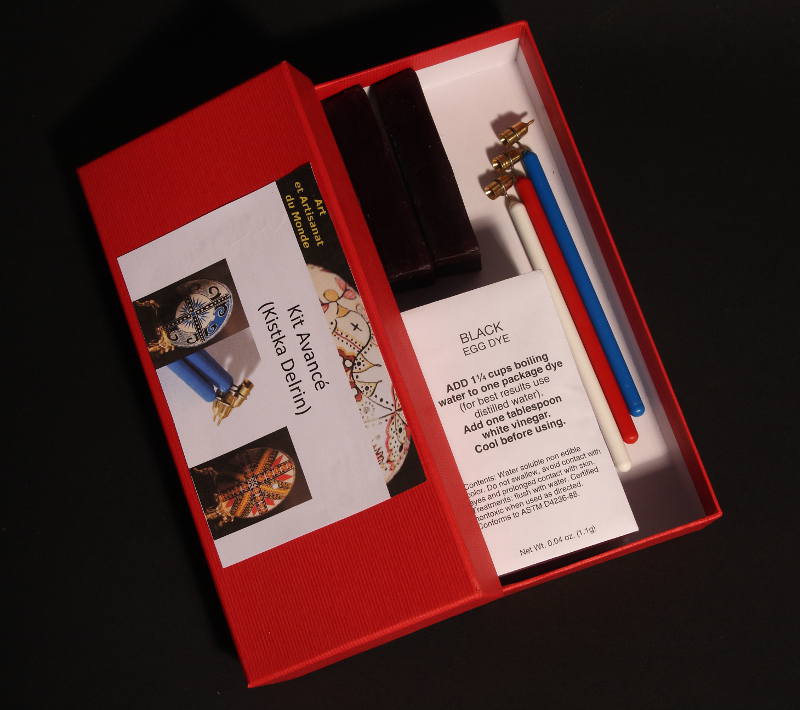
Kits pysanky |
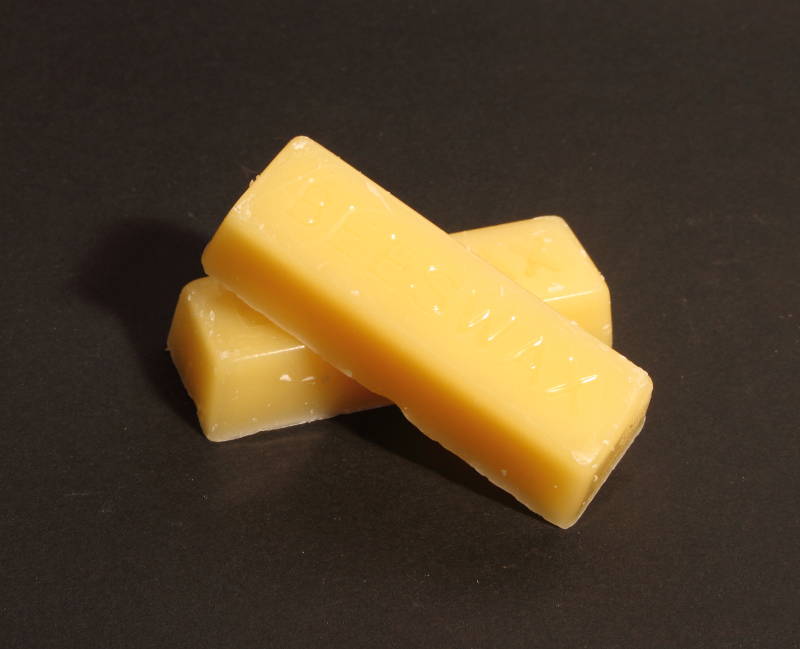
Cires |
Writing on an egg
You can start with gray pencil, or directly with the kistka. To draw an even and straight line, the best way is to move the egg and not the kistka.
Start with « simple » lines, to divide the egg into well-geometric areas, this will give balance to your drawing.
Be careful, don't touch the egg with fat on your fingers, and especially don't rub on an egg that you want to dye later, it will leave irreparable traces!
Take some wax from the tank (scratch the block, it comes out on its own), heat the wax near a candle flame, and the wax will flow out of the kistka on its own.
To prevent the wax from « smearing » from the kistka and making large deposits on the shell, you can start drawing your line on a paper towel.
As soon as the line becomes less thick, reheat the kistka a little. Better to reload often and warm up after each long line, than to try to resume an interrupted line.
Here is video from romanian pysanki, with other patterns.
Dye the egg
Warning: always proceed from the lightest shade to the darkest.
The instructions for the dyes are given on the page listing all the colors available with their translation.
An eggshell will react differently to the dye depending on the treatments it has undergone, and how you have washed and disinfected it.
Doing your own tests is the only solution.
This is why we have a range of \“special dye\” eggs, treated only with vinegar.
Dip your egg in the first dye bath; or use a cotton swab to color only part of the egg.
If your egg is empty, you can plug the hole with a little black wax.
Wait a bit for it to dry, then make new lines of wax; you will have preserved the dye you have just made under the wax, and you can now dip the egg in another color,
or apply with a cotton swab.
Remove the wax and varnish the egg
The more your work progresses, the blacker your egg will be… covered in wax…
So it's a magical moment when all the wax disappears, revealing all those colors you've been hiding!
The step is delicate: the easiest way is to bring the egg close to the flame of the candle, but not above the flame, beware of the black smoke, which will stain your egg irrevocably! regularly wipe your egg with a soft paper, and you will discover the amazing result of your work!
You can also put the egg in the oven. Then wipe the egg with soft paper.
To varnish it, several solutions exist. The traditional way is to rub a grease to make the egg shine, but modern varnishes intended for water-based painting do the job very well.
If you use a spray, be light-handed, to prevent drops from running down the egg!
Now, you can create your own pysanky!
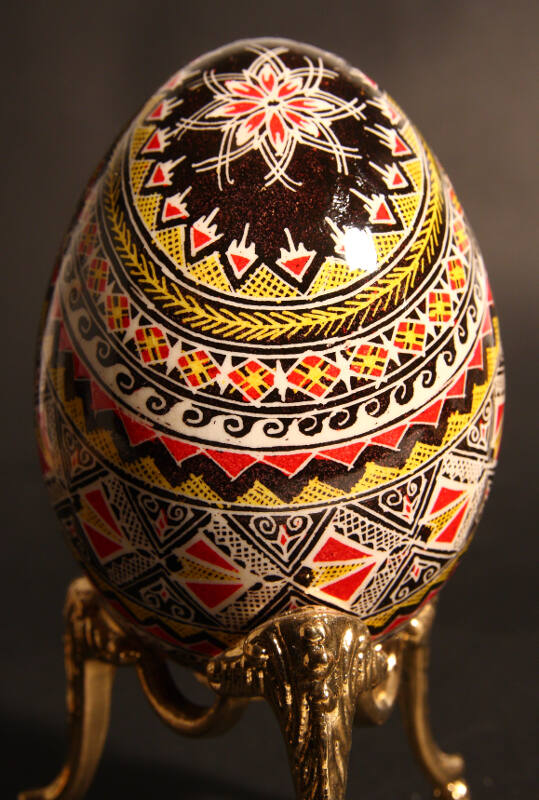
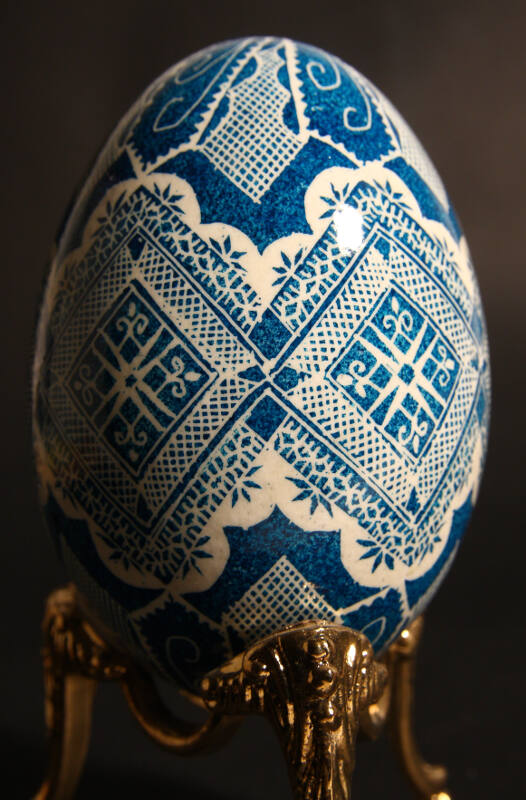
Here is an interesting video that shows Viorica, one of our artists, decorating "Pysanki" eggs.
|
You can find her eggs here! |
Find all material and tools here